8 Simple Steps to Install 800x800mm Porcelain Paving
Installing 800x800mm porcelain paving can transform any outdoor space with its sleek, modern look and durable finish. But getting that perfect result requires a bit of know-how. In this blog, we’re sharing top tips and tricks to help you achieve a flawless installation.
Whether you're a seasoned landscaper or a DIY enthusiast, these expert insights will ensure your 800x800mm porcelain paving is installed efficiently and beautifully, setting the foundation for a long-lasting and stunning outdoor area.
8 Simple Steps to Install 800x800 Porcelain Paving
1. Prepare the Base
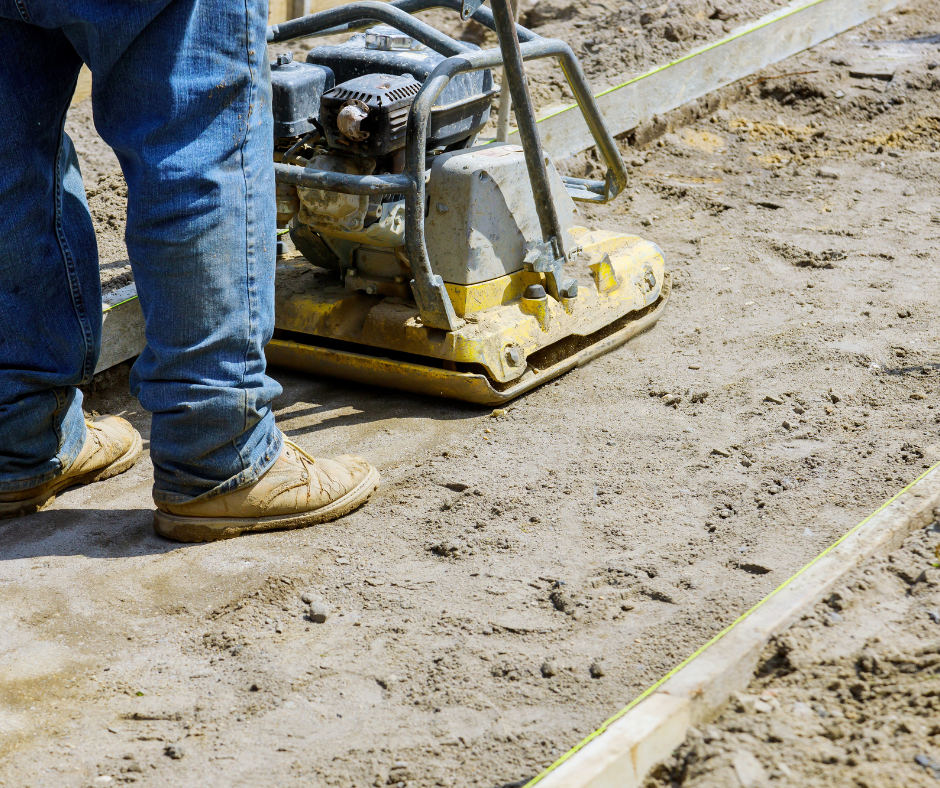
A strong foundation is essential! Ensure you have a well-compacted sub-base of MOT Type 1 at least 100mm thick. This will support the larger format tiles and prevent sinking or shifting.
2. Use a Full-Bed Mortar Mix
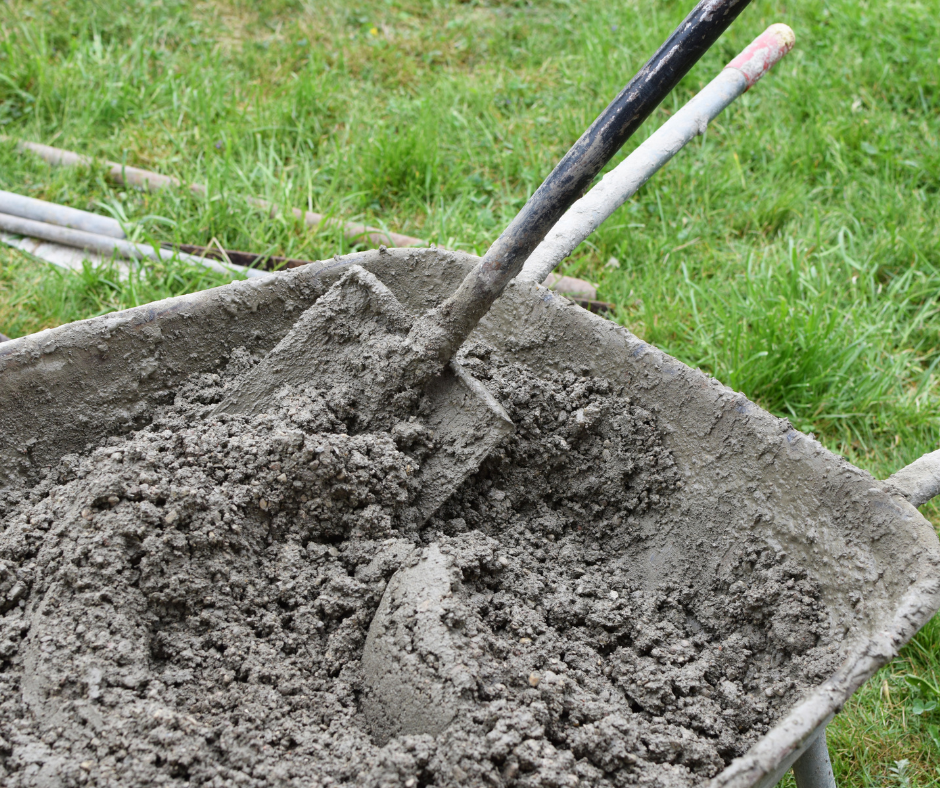
With larger tiles like the 800x800mm porcelain paving, it’s crucial to use a full-bed mortar mix, at least 25-30mm thick. This provides solid contact with the entire tile, preventing cracking and movement.
3. Priming Slurry
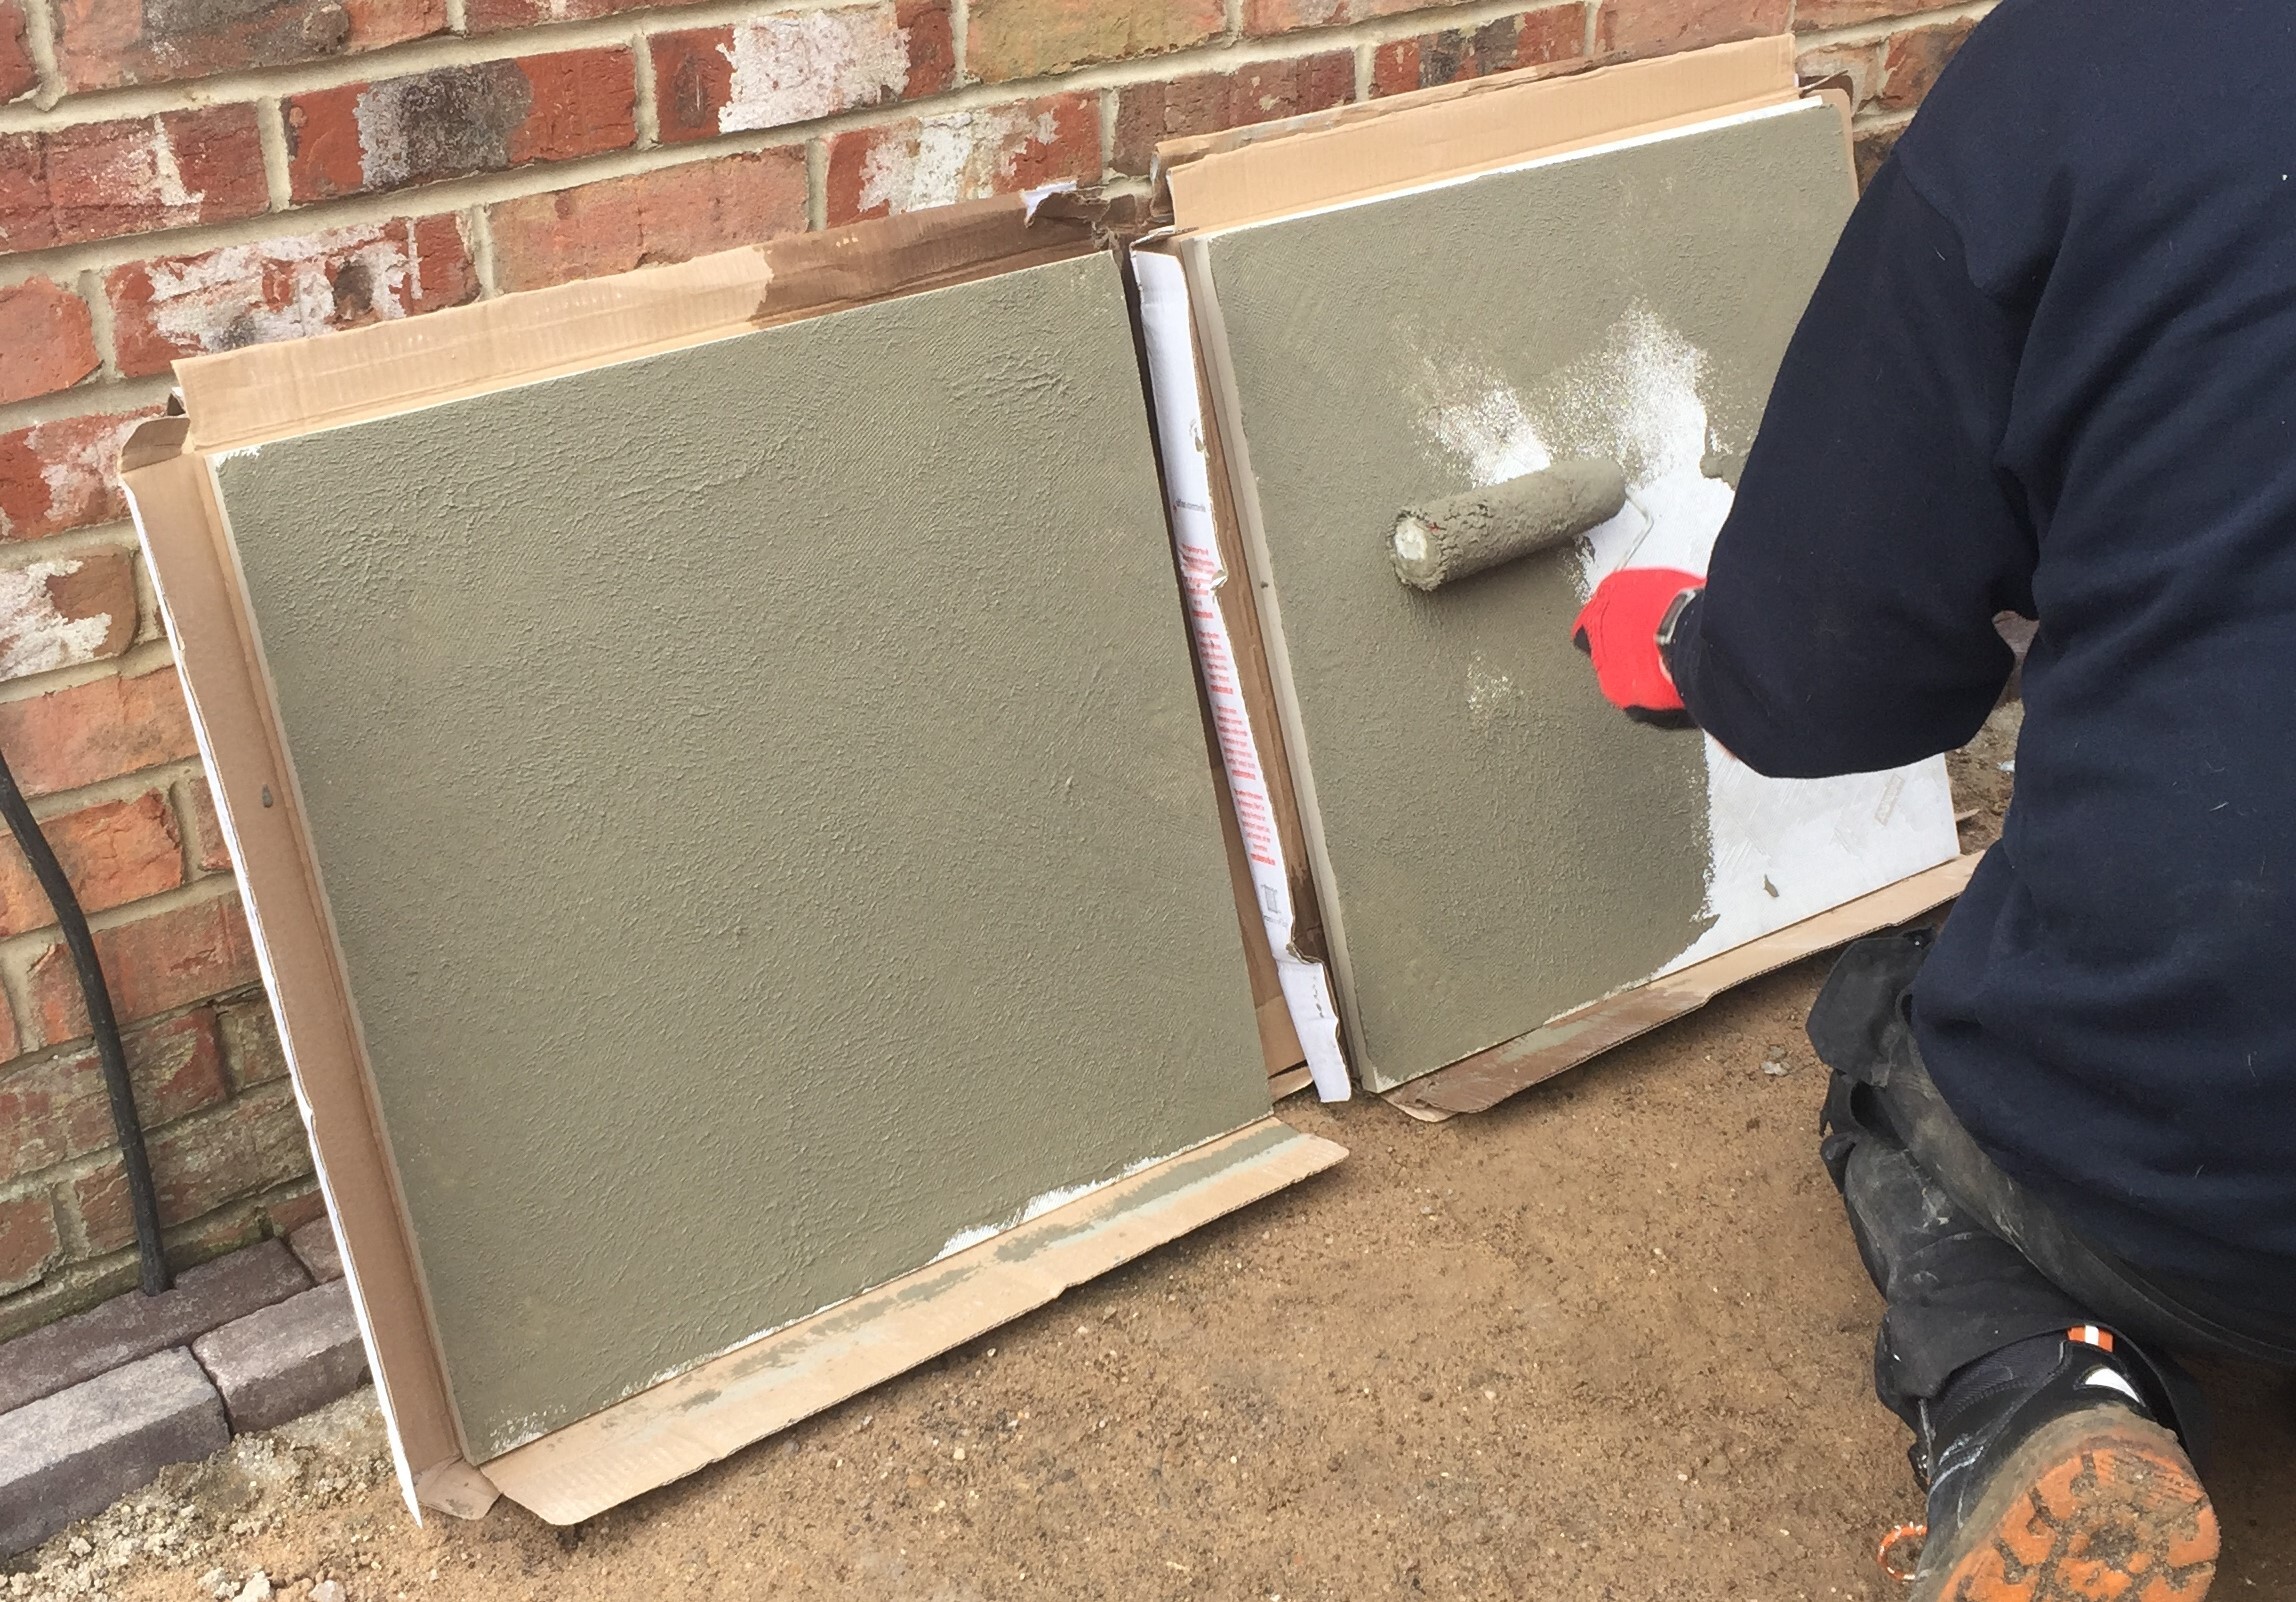
Apply a priming slurry, such as Pavetuf Priming Slurry to the back of each porcelain tile before laying it on the mortar. This helps create a better bond between the paving slab and the mortar, enhancing durability.
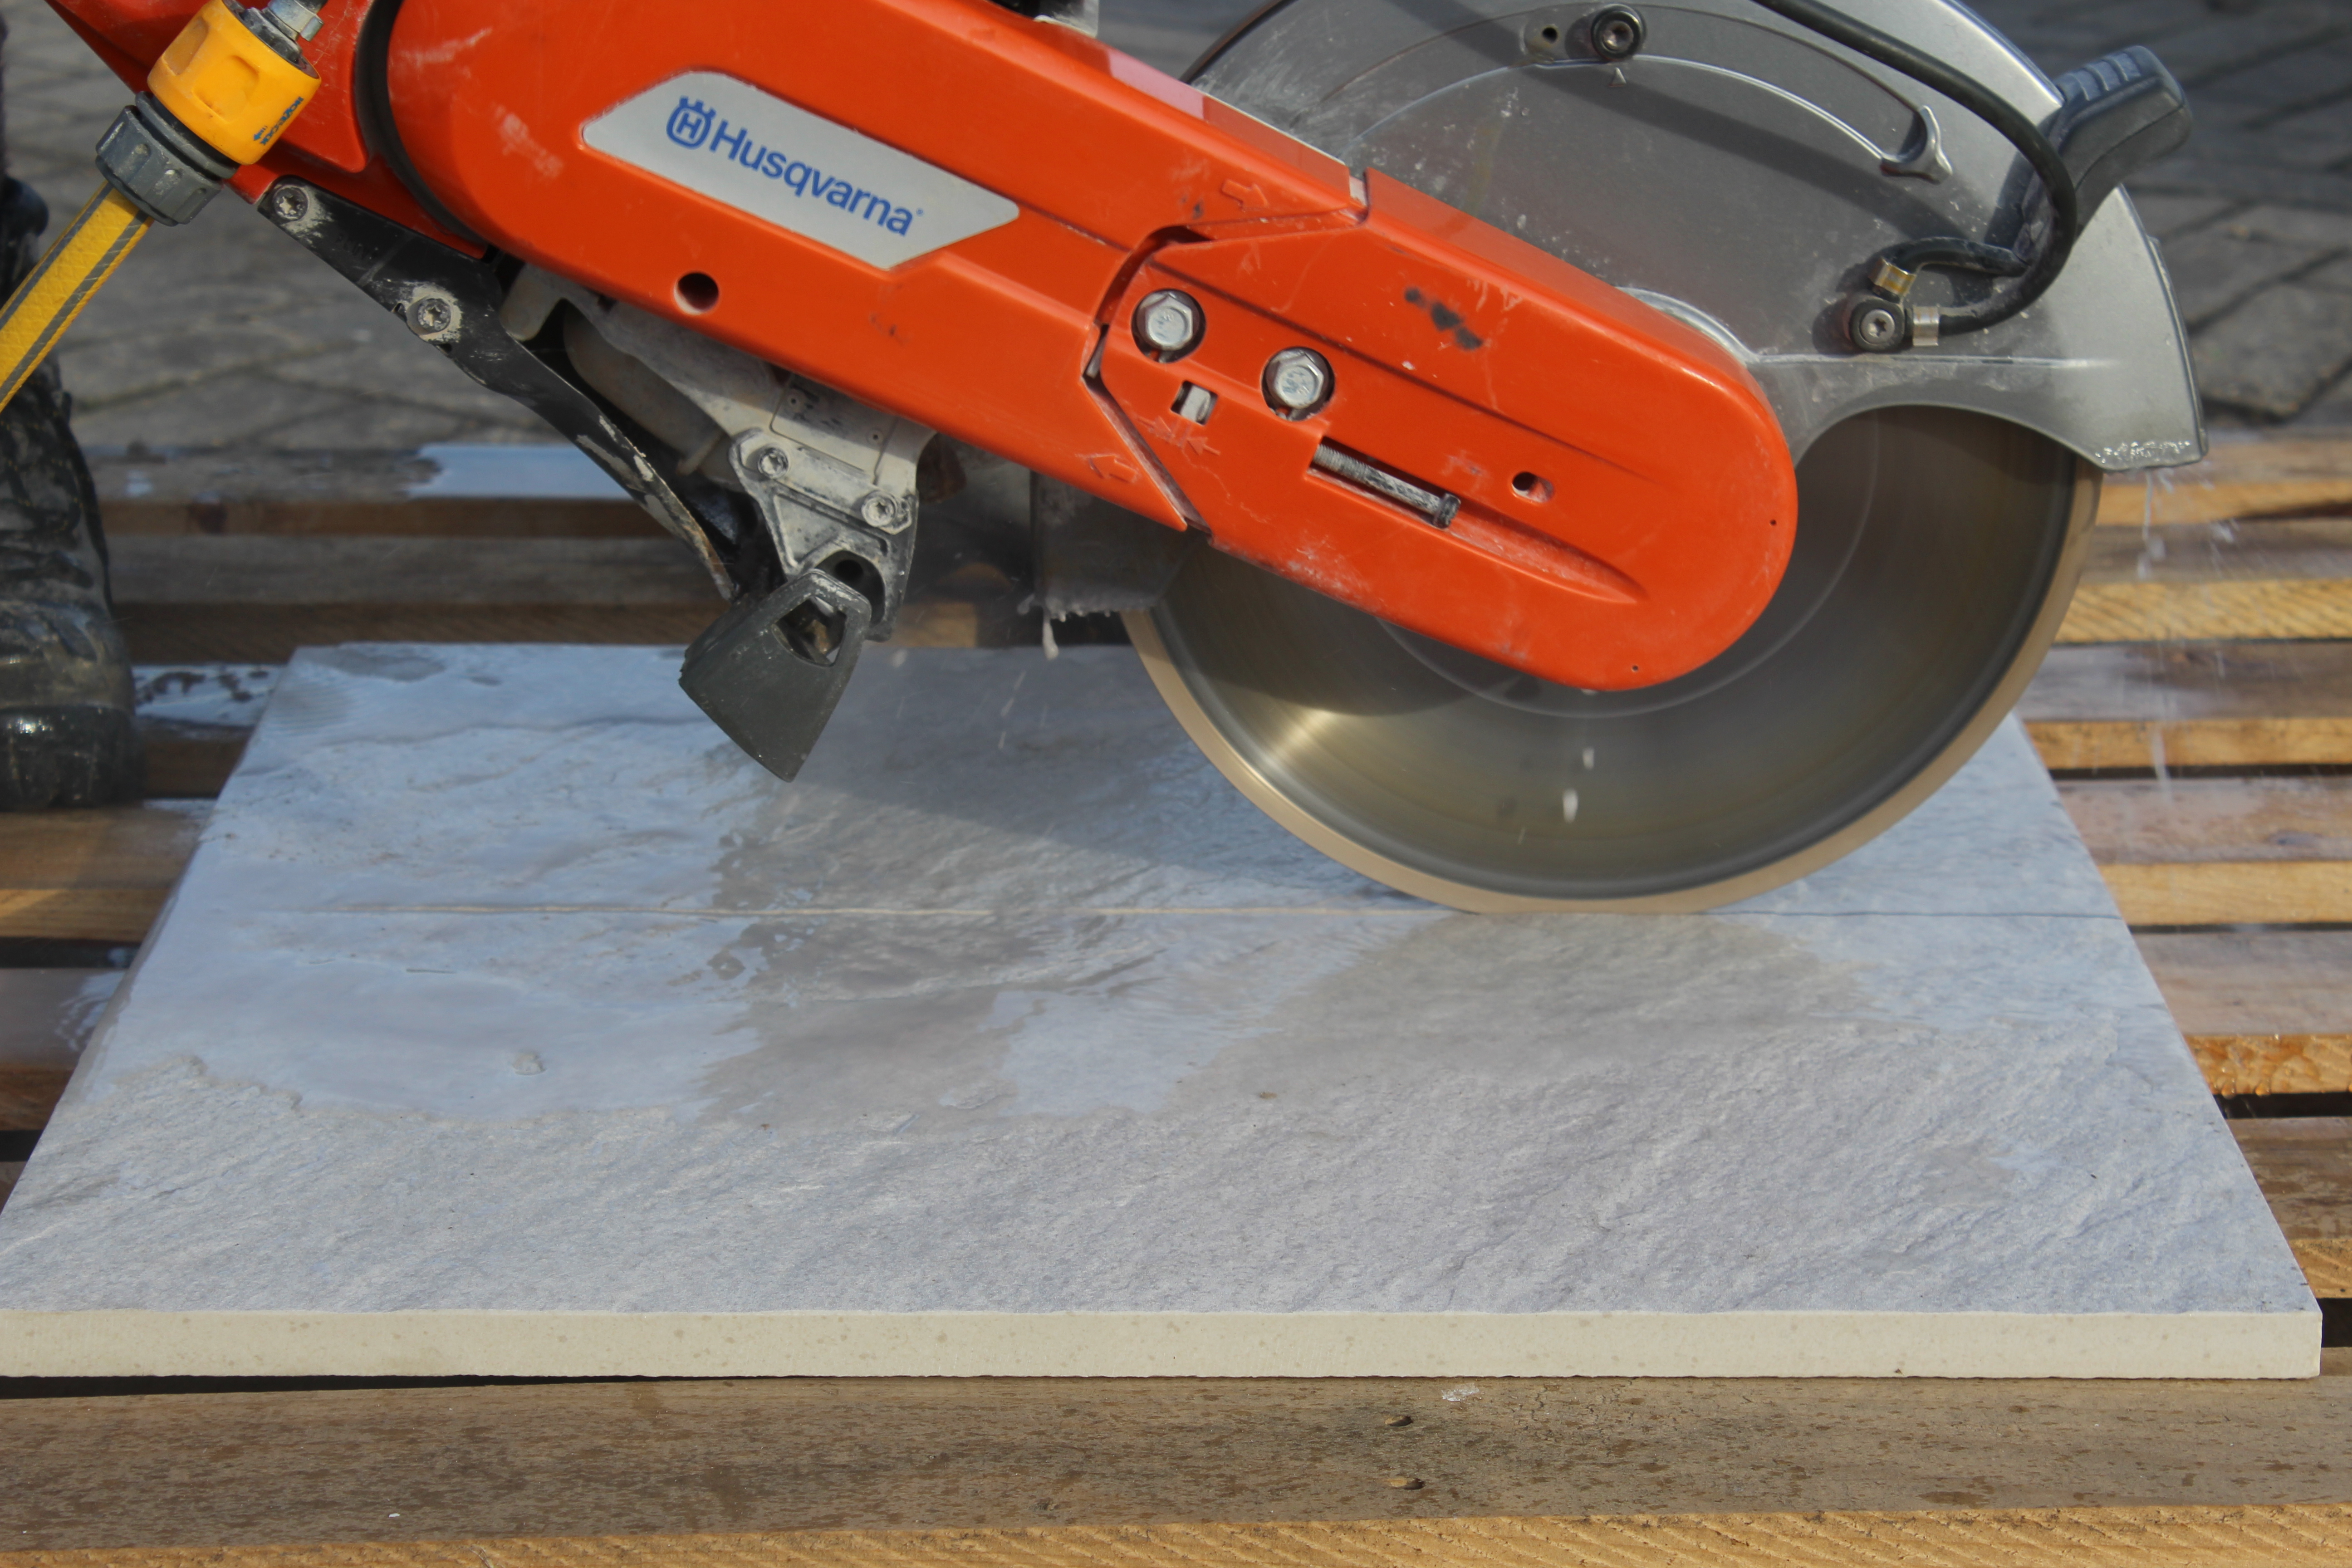
- Pre-cutting: Measure twice, cut once. Place your porcelain slab on a surface that will stop any vibrations like a rubber mat or a bed of sand.
- Make a First Pass: Mark the slab. Turn off the water and with low revs, make a gentle pass over the marked line scoring the surface.
- Make Tension Cuts: Turn the water feed one and make cuts to the 2 ends of the slab, approx 50mm in length, keeping the revs low.
- Make the Connecting Cut: Keep the water feed on and the revs low, then gently make several passes until the slab is cut through.
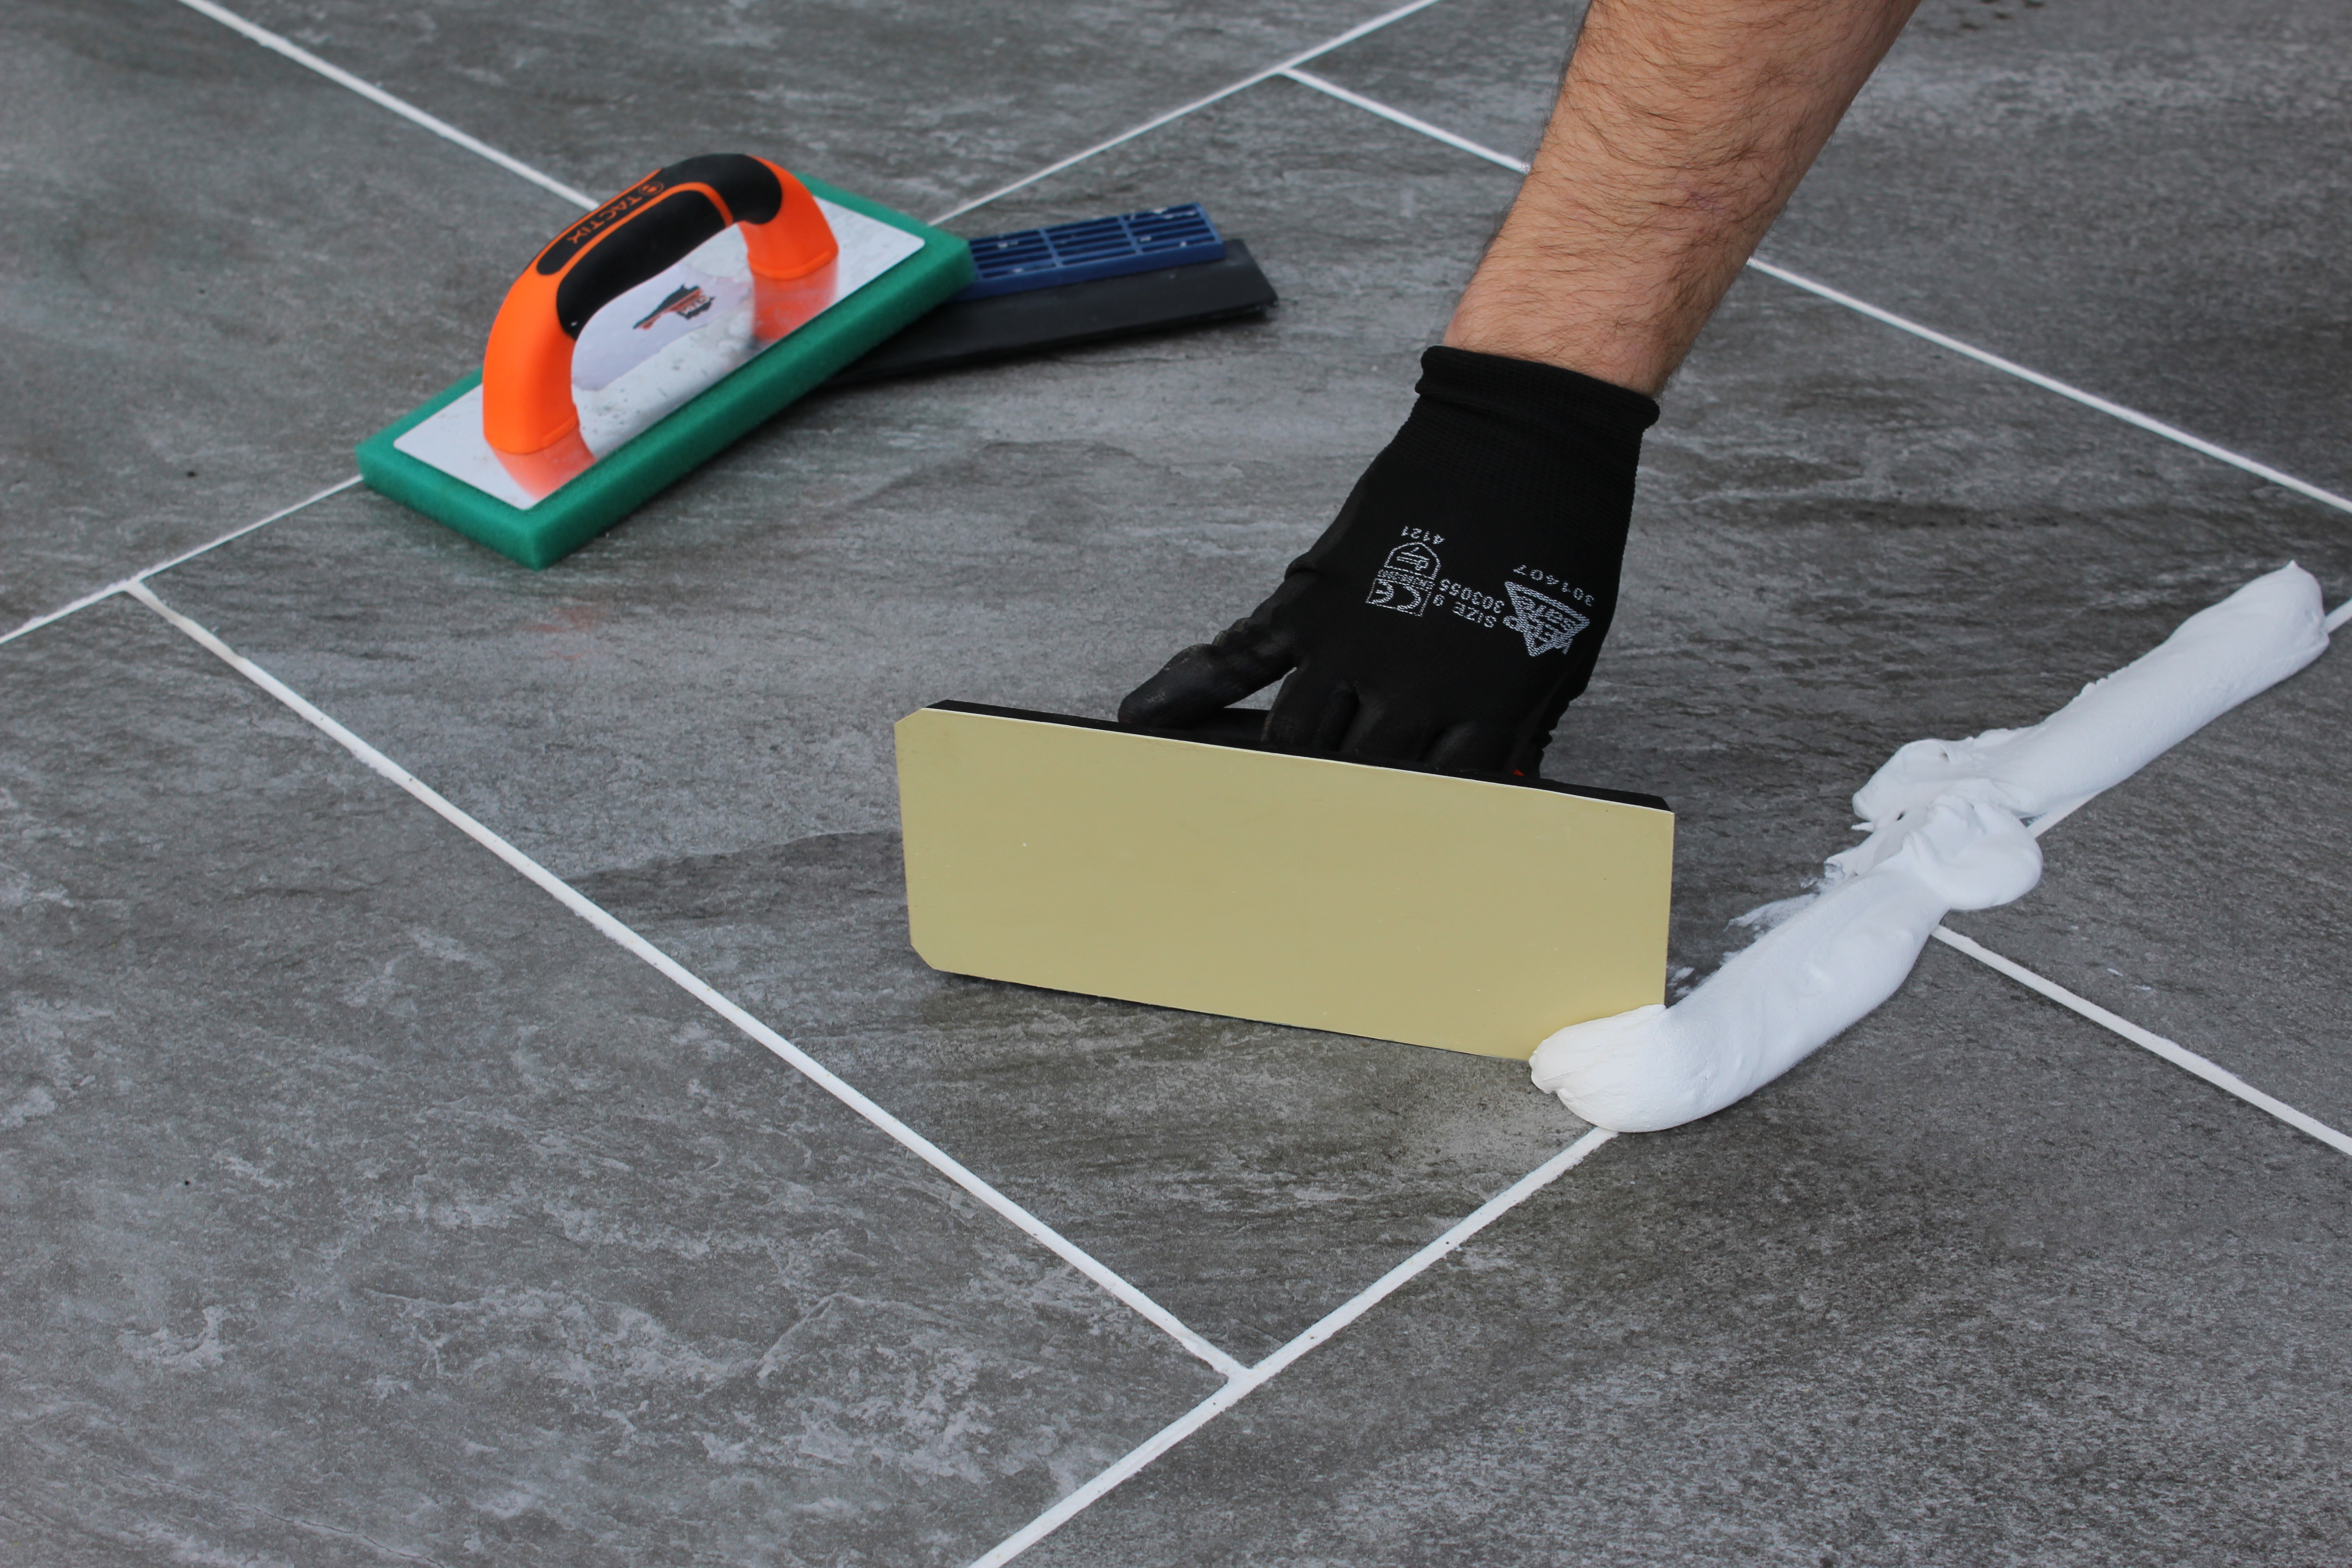
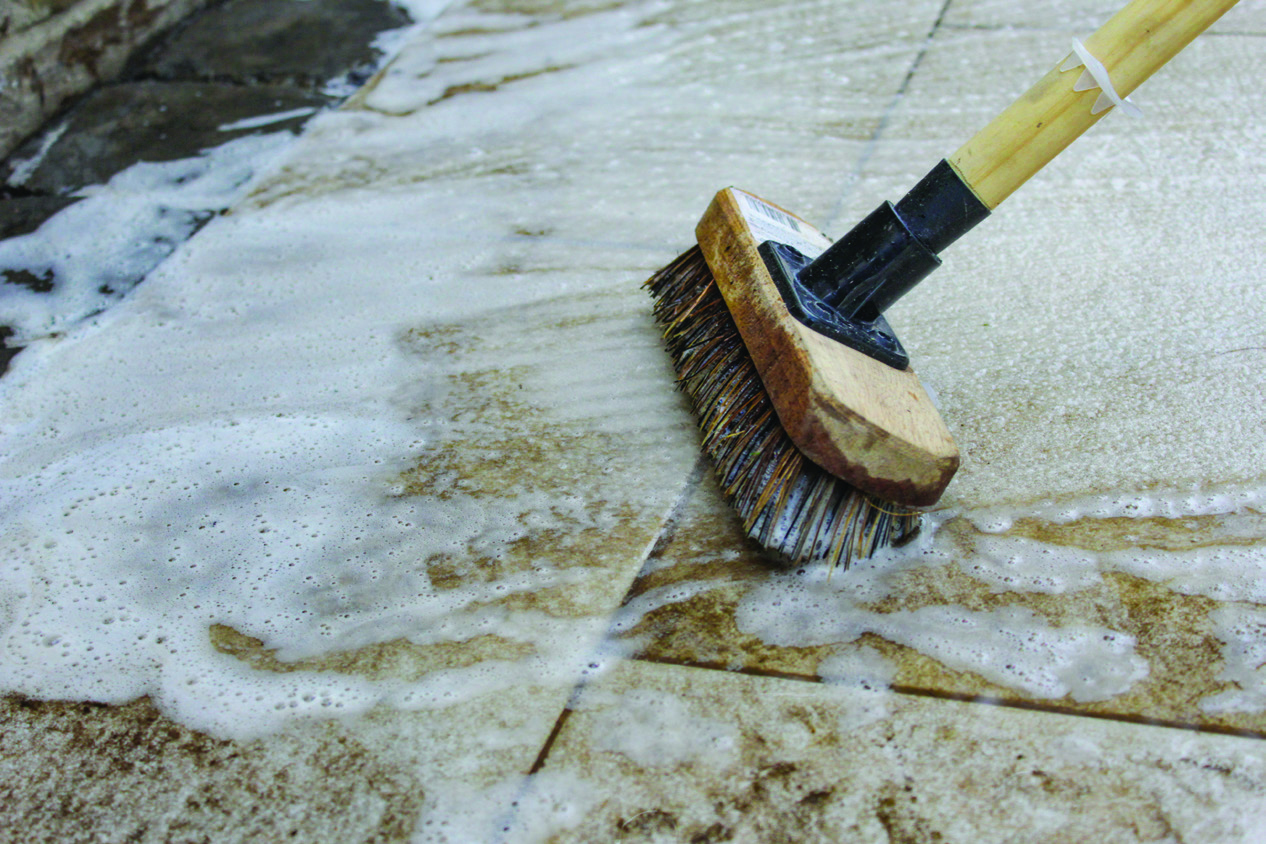
8. Cleaning Up
Pro Tips
By focusing on preparation, using the right tools, and following best practices, these challenges can be easily managed, ensuring a flawless installation every time.